Do you believe that your bathroom sink system contains numerous components which work together to provide the right water flow from the main supply valve? The bathroom sink plumbing parts look very complicated but are not difficult at all to manage.
You can easily control the water flow and fix these parts on your own with minimum tools.
Here our experts will give you the functionality of some of the important components of a bathroom sink which will help you to repair or install a sink with taking assistance from any professional plumber:
Plumbing Parts of Your Bathroom Sink – 20 Major Components
You can install as many plumbing components as you want and utilize them as per your needs. Most of them are not complicated to understand or install and are self-explanatory.
You don’t need to call any professional plumber to install or repair these bathroom parts. Plus, they charge a lot of money to do it. If you notice any leakage issues in your bathroom sink then you should fix them on your own without any complicated tools.
Now, let’s learn some of the important parts of a bathroom sink here:
1. Shutoff Valves
There is a smaller valve installed between the supply hose and the incoming water supply pipe. It looks like metal or in some cases plastic material and is used to stop the flow of water at any time.

The faucet is a very important component of your bathroom sink and helps you to open or close the main water supply line in any water leakage issue.
2. Supply Tubes
The shutoff valve also contains a supply tube. It is made of plastic mesh or sometimes some solid plastic material. This vanity sink utility is connected with the nuts and throws the right amount of water into your bathroom faucet.
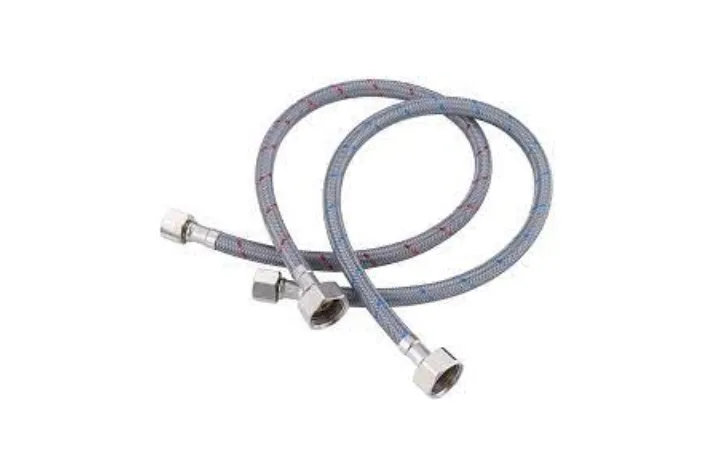
You can add some beauty to your bathroom by installing the chromed copper or gray supplies of these bathroom fixtures to match them with other components.
3. Compression Nut
You can directly connect the water supply line with the shut-off valve. There is a compression nut that moves the water into your sink faucet. You just need to sure that this valve is tightly closed to avoid any water leakage issue.
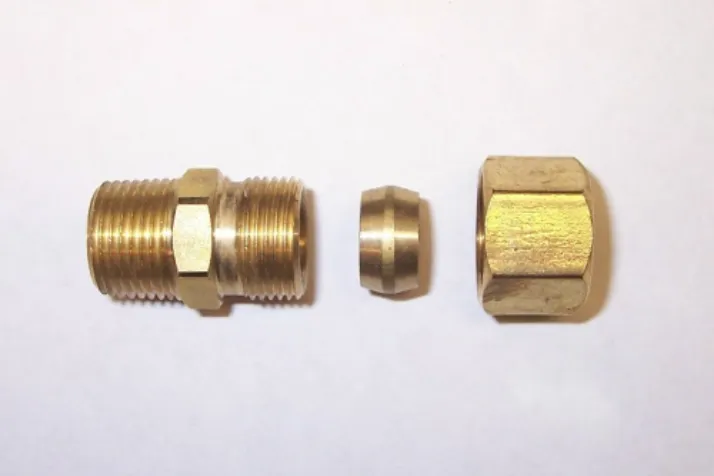
4. Water Supply Line
The main pipe that carries the water from your sink faucet is known as the water supply line. It is directly connected to the faucet and comes straight from the shut-off valve of your bathroom.
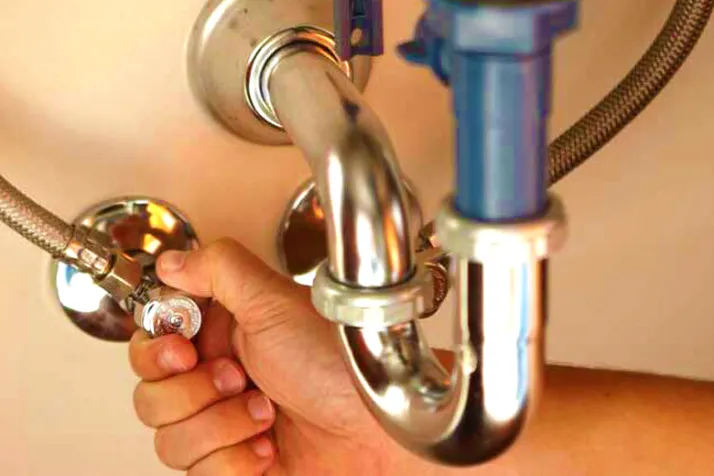
You should install the main valve at this spot to control the flow of water.
5. Drain Tailpiece
You have to connect the drain plug pipe to your bathroom sink. To join these two important components, you need a drain tailpiece underneath your sink. this drain fitting is quite a helpful part of the sink drain system.
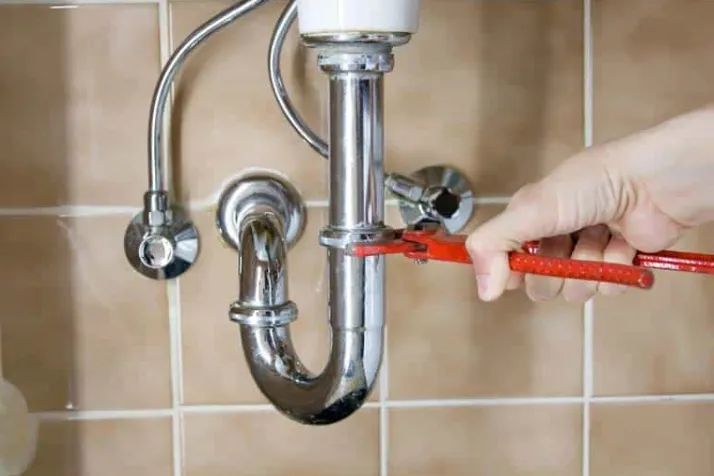
There is a slip nut that tightly fixes this utility of your bathroom sink. this watertight seal will discourage extra leakage and maintains the right flow of water in your sink faucet.
6. P-Trap
Another part of your bathroom sink which gives the way to water from your main supply line to the sink faucet is P-Trap. It is usually combined with a U-bend and a trap arm.

You can call it a curved section of pipes coming from the main water supply line and can also be utilized as a drain stopper. You can assemble this component of your bathroom sink with a slip-nut joint to discourage any leakage or wastage of water.
7. Faucet Handles
You can decorate this sink setup with an attractive faucet handle. Also, you can purchase this handle in any size, shape, or style. You can open or close the water in your faucet with this handle or can maintain the hot or cold water at your preferred level.

It’s a great idea to match the faucet handle with its surroundings or the other fixtures of your bathroom sink to contrast everything in perfect order.
8. Lift Rod Handle
You can control the stopper of the sink with a lift rod handle. You can push it to raise the pop-up stopper or pull it back to lower this stopper. It is again a stopper controller which helps you to stop the wastage of excessive water.

9. Pop-Up Stopper
You can move the lift road handle with a pop-up stopper. You can move it in a downward or upward direction as your need and function the lift rod handle in your way.
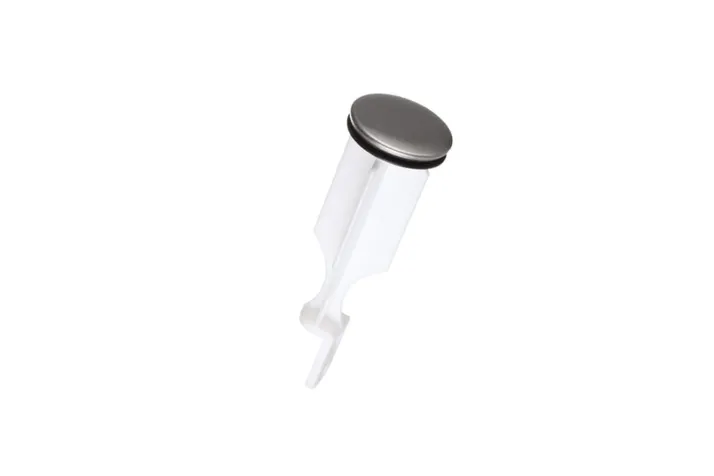
10. Drain Pipe
The drain pipe of your bathroom sink is directly connected to the plumbing system. There is a pop-up flange installed at the end of this drain pipe which is a key part of your bathroom sink.
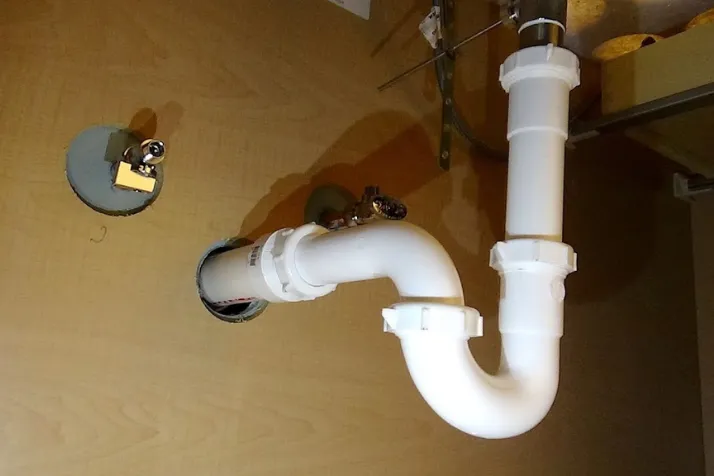
There is a trap arm and slip-nut joint connecting the sink which can be installed with any dimension. It will give you the right flow of water and if you feel any leakage issue then you can replace the trap arm or its inside pop-up stopper of the valve.
11. Tailpiece
Now, let’s move toward the flow of used water. You will see a tailpiece in the center of your sink connected with the P-Trap. It will help you to drag the water to the waste pipe.

12. Tailpiece Mount
There is a horizontal road that works with the tailpiece known as its mount. It will control the pop-up stopper and store the extra messes in the water.

If even you notice the clogged sink, then this component may be the main reason for this blockage. You can unscrew and remove the tailpiece mount for cleaning purposes and install the newer one for perfect water flow.
13. Tailpiece Slip Nut
There is a nut directly joining the P-Trap and the tailpiece. If you tightly seal the flow of water then you can install a washer with a tailpiece slip nut.

14. Pivot Nut
The pivot nut connects the tailpiece mount and the stopper rod. You can move the pivot rod in upward and downward directions. Again, you can unscrew this pivot nut to eliminate the tailpiece rod from the sink.

15. Stopper Pivot Rod
The pop-up stopper is connected with a few pieces to control this stopper. There is a horizontal piece of metal that will hold the pivot nut to its origin. You can move this gadget in any direction as per your requirement.
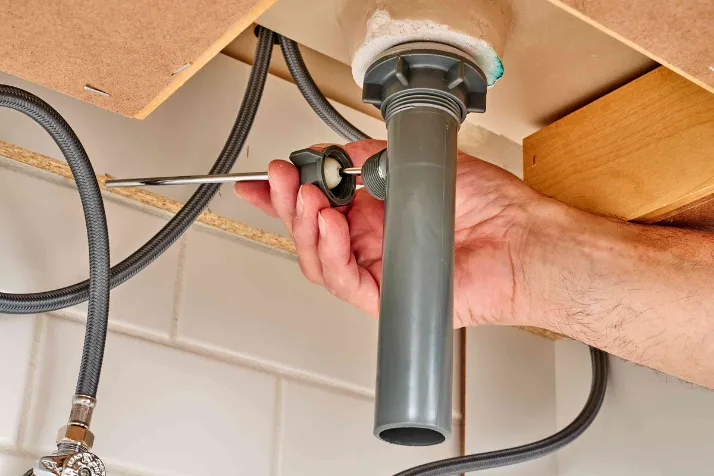
16. Trap Assembly
To connect the P-trap of the wastage system of your bathroom sink, you need a trap assembly to connect all the pieces. This component also helps you to discourage all the water leakage issues in your bathroom sink.

17. Spring Clip
There is a spring clip of metal material that is used to connect the clevis strap and the rod. Make sure that you bring this smaller gear as well while collecting all the items from your bathroom sink.

18. Waste Pipe
You should also think about the waste pipe of your sink’s drain system that will take the waste to the sewer system through the P-trap.
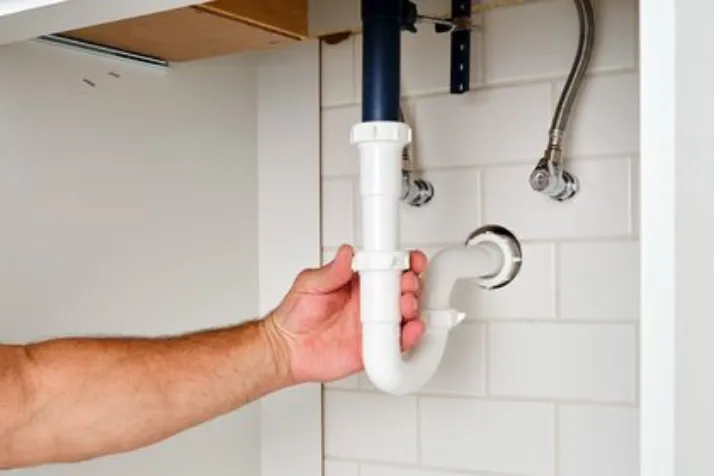
19. Clevis Strap
There is a vertical strip located at the bottom of your bathroom sink known as a clevis strap. It will lift the rod handle and move it in all directions.
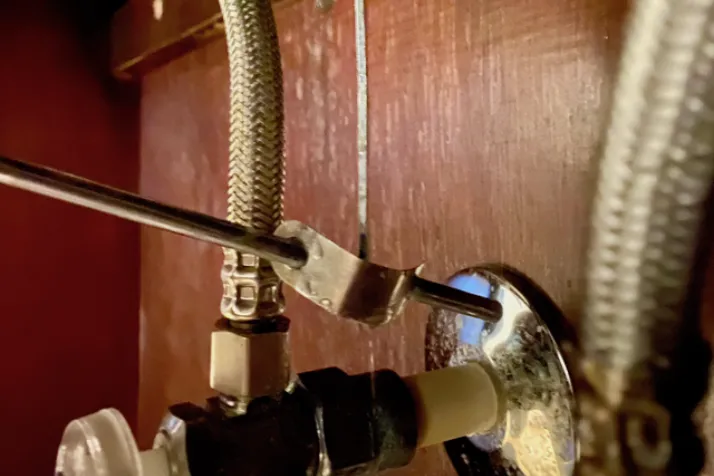
If you pull this stopper in an upward direction then you should push the handle down to drain the sink in the right order. If the strap is down, then it means you will get the water in your sink faucet.
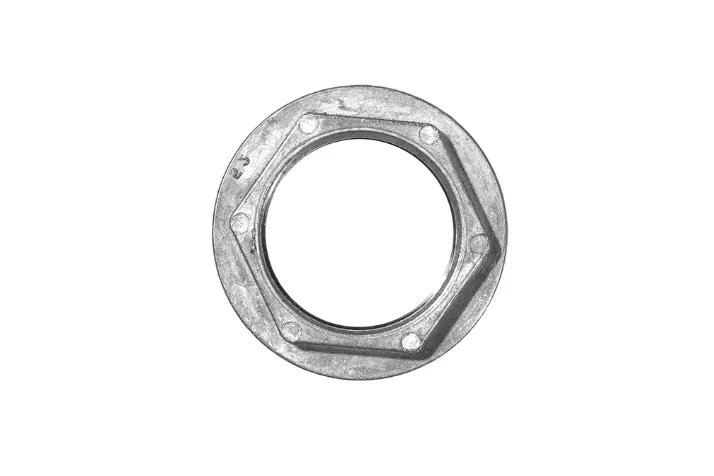
20. Locknut
If you are looking to secure the drainpipe, you need a locknut to connect the P-trap gear. It will also help you to secure this gadget and takes the water down towards the outer pipe.
A Few Tips for Your Bathroom Plumbing Parts
Now if you can understand all the plumbing components of a bathroom sink then must learn the following tips and tricks to get more critical information about this drainage system of your bathroom.
- When you start thinking about any DIY bathroom sink job, initially shut down the main water supply line.
- If your bathroom sink is blocked then you must check its stopper. You may find some sticky hair or other similar obstruction in it. You should immediately remove them for the right flow of water.
- You have to regularly clean the upper portion of your bathroom sink.
- Cleaning the P-Trap section will also give a free-flowing speed to water.
- If you disassemble any part of your bathroom sink, then you have to fix it tightly before re-opening the main water supply line.
- If you are residing in a hard water area, then you have to regularly do maintenance of your bathroom parts.
- If the water is stopping in a routine, then you should investigate the pivot rod of your sink.
FAQs – Frequently Asked Questions
What are the Parts of a Bathroom Sink Called?
The bathroom sink components are also called the plumbing parts for any bathroom. Some of the common parts of a bathroom sink are the faucet, basin, and drainage system.
What Plumbing Parts Do I Need for a Sink?
You will require a sink strainer, tailpiece, tee, waste arm, extension tube, couple, and elbow as the plumbing parts for any sink. You need to fix all of them in the right order to make your sink functional.
What is a Bathroom Drain Assembly?
The bathroom drain assembly is used to hold the water in any sink. A pop-up drain assembly is utilized with faucet stop water in a bathroom sink.
What is the Thing Inside the Sink Called?
There is a garbage disposal unit placed on the sink. You can check this utility under a sink in between the trap and the drain of your bathroom sink.
How Do You Fix a Bathroom Sink Pipe?
You have to disconnect and remove the drainage to fix a bathroom sink pipe. If there is no leakage issue then you can consider it to install again otherwise bring a newer bathroom sink pipe to discourage any leakage issue in your bathroom sink.
What is the Ring in The Bottom of a Sink Called?
The ring placed at the bottom of a sink is called a drain collar. it is the main connection between a waste pipe and the drain. You can say the drain collar is an extremely crucial component of any sink.
Final Thoughts
Now you understand all the key components of your bathroom sink. It is not very difficult to assemble all these bathroom parts. You can fix all the water leakage or any other issue on your own with minimum tools.
However, you must know the functionality of each component so that your bathroom sink stays in working condition all the time. Most of these bathroom sink parts are self-explanatory and can work together will other components.
There are various bathroom sink plumbing parts that directly connect to the main water supply line. You should shut down this main valve to stop the water wastage.

Leave a Reply