Is your toilet valve leaking and do you want to change the toilet fill valve?
If there is a faulty fill valve in your toilet, it will cause leakage and a lot of water will be wasted. Luckily, you can fix this issue by replacing this valve and this is so easy that you can do it yourself.
You will not need any help from a professional because it does not need a lot of experience with plumbing and it can be done in a short time. The only things that you will need are some necessary items, a few tools, and a little bit of effort.
In this article, we will learn how to replace a toilet fill valve in only ten steps.
Want to know how to replace a toilet fill valve? It’s easier than you think! You’ll learn all the steps in a fun and simple way that anyone can understand. By the end, you’ll be a pro at fixing your toilet without any help. Keep reading to find out why it’s important to know this skill!
- Disconnect the water supply to the toilet and flush its tank to remove water from it.
- Find the location of the toilet fill valve and take it out from the tank.
- Purchase a new fill valve and install in the same position according to the guidelines.
- Tighten the nuts with care.
- Connect the water source and adjust the float.
Tools and Materials Required
- Bucket
- Towel
- Toilet Fill Valve Kit
- Pliers or wrench
Steps to Replace a Toilet Fill Valve?
There are 10 easy steps to replace your toilet fill valve
Step 1. Disconnect the Water Source
Before starting the project, you should close the water source from outside the toilet. The valve which is supplying water to the toilet will be located near the toilet. Turn the valve clockwise to close the water supply.
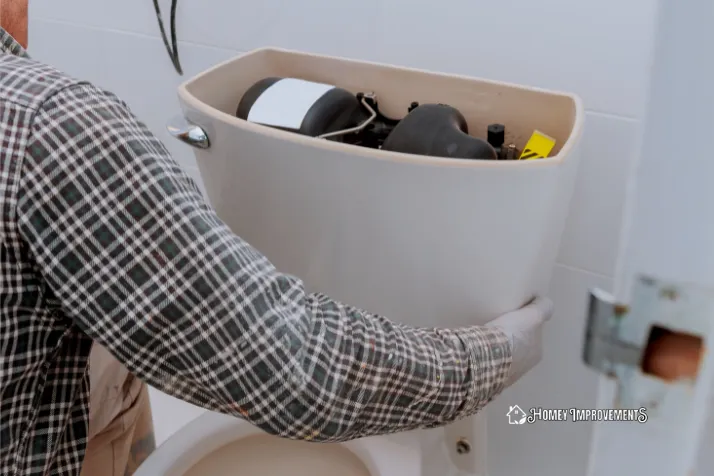
Turning off the main water supply of the house is a good idea to protect against water damage due to floods.
Step 2. Empty the Toilet Tank
After turning off the water supply, flush the toilet tank. When you are flushing the water, hold the flush lever, so that all the water can be removed from the tank. When the draining of water will be complete, you will see a little amount of water at the bottom of the tank.
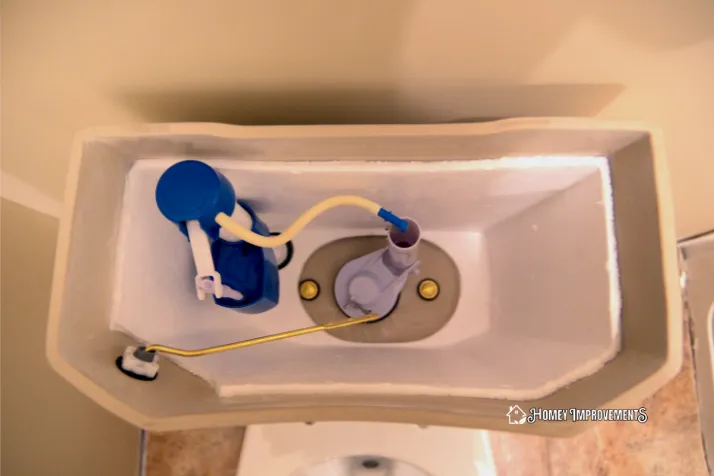
You will need a wet-dry vacuum for this purpose. If you don’t have a vacuum to suck the water at the bottom of the tank, use a sponge. It will soak up all the remaining water and you will also clean the tank from the buildup of dirt and debris.
Step 3. Find the Toilet Fill Valve
Set the lid of the tank in a way that it is open and does not break. Mostly, the toilet fill valve is present in the tank at one side. In the latest models, a plastic column has covered the ON/OFF lever for filling and float.
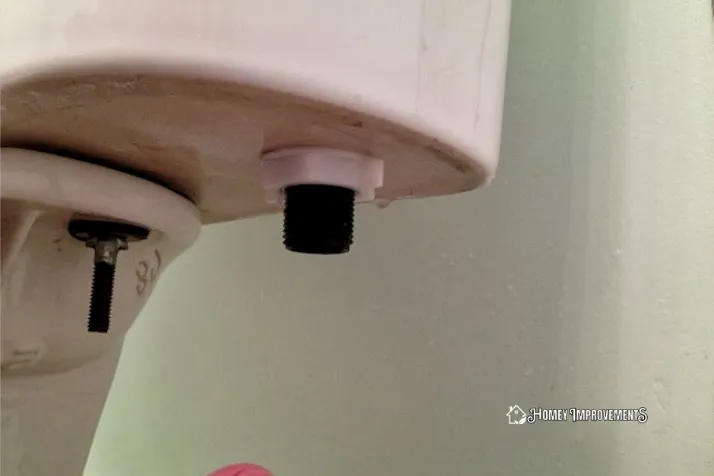
In older models, the float is not located with the fill valve in one column rather is it present there separately, but they are connected with each other. There is also a tube attached to the fill valve that joins to the overflow pipe.
Step 4. Disconnect the Toilet Fill Valve
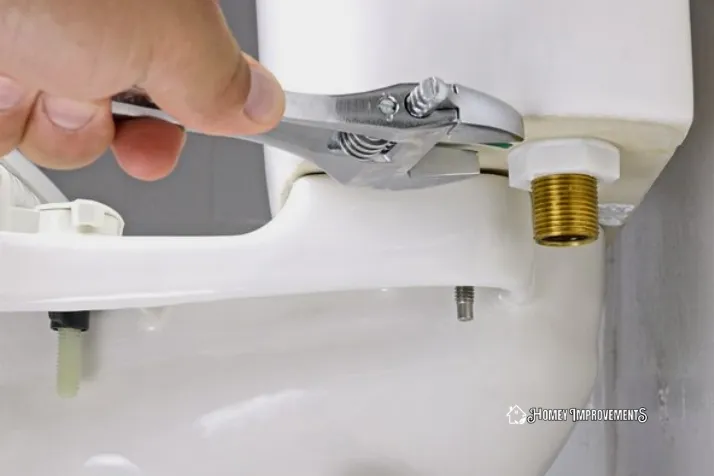
Use pliers or wrenches to turn the nut anti-clockwise which has secured the link from the fill valve to the water supply line. Now, remove the supply line from the fill valve beneath the tank.
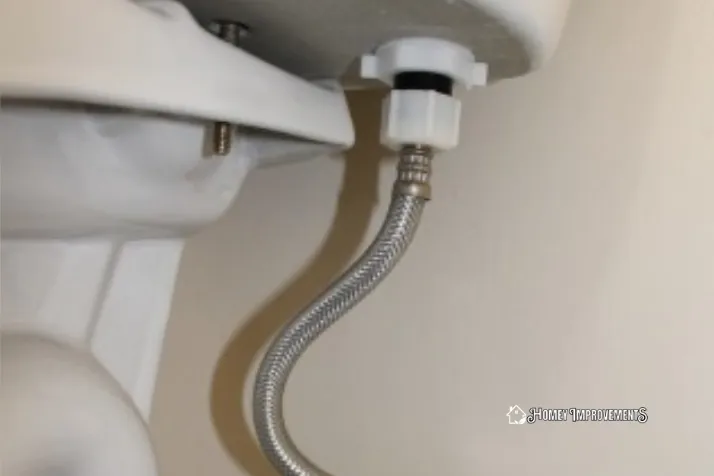
When you will turn the nut to remove it, water will run out from there. So, it’s good to keep a small bucket or any container under that place.
Step 5. Buy a Toilet Valve Replacement
Take the old fill valve with you to the hardware store and purchase the one according to the same size. It’s good to buy a new valve with better quality. Mostly, the toilet valve is universal and they can be used for any toilet.

However, to get accurate results you can take the old one with you while buying. If there was a separate float in for your fill valve, in the newer valve, an attached float will also work.
Step 6. Installing New Fill Valve Replacement
First, take out the manual from its packaging and read all the directions given on it. All the components of the fill valve should be assembled already and you have to install it in the toilet tank only.
Keep in mind to staple the new refill tube to the overflow tube.
Step 7. All the Washers Should Be in Proper Place
Read the instructions carefully that how all the nuts and washers are connected. The place where the toilet fill valve passes through should be placed with washers from inside and outside.

Washers are placed on these points to make a water-tight seal around this area.
Step 8. Carefully Tighten the Fill Valve Nut
After keeping the fill valve in place, the final step is to insert a lock nut into the threaded part of the valve. This nut is present on the underside of the tank.
Make sure the nut is tightened but don’t turn it too much otherwise the tank or valve will be broken. Don’t use a wrench or pliers for this purpose, tightening with your hands will also complete the process.
Step 9. Turn on the Water Supply
When you have installed the new toilet fill valve, turn on the water supply from the valve located near the toilet. If you have closed the main water source of the house, open it to let the water flow.

In case you find the toilet fill valve leaking, immediately turn off the water supply valve and make sure every nut is tight. Now, let the water flow through the pipes by turning on the water source and you will find that the tank is filling with water.
Step 10. Adjusting the Float
When the tank is filled with water, now you have to adjust the float on your new fill valve. You can adjust the location of the float with the clip which is attached to it.
Setting a screw that is located at the top of the float stick, or adjusts the screw which is located at the top of the fill valve where the float is connected to it.

To adjust the float correctly, read the guidelines of the toilet fill valve thoroughly. After adjusting the float, it should be one inch below the overflow pipe’s top.
The purpose of float adjustment is that before the water gets high enough to flow over the overflow pipe’s top, the float comes up and the water should be turned off.
What is a Toilet Fill Valve?
It is one of the most important components of the toilet. It is a device that is responsible to fill the tank of the toilet with water with every flush.
Mostly, this valve is located at one side of the tank and the water supply is attached to it from the underside. The fill valve is attached to the float and to the overflow tube through the refill tube.
FAQs – Frequently Asked Questions
Is it Difficult to Install Toilet Fill Valve?
Installing a new toilet fill valve is so easy that any homeowner can do it. It is not time-consuming and does not require a lot of plumbing experience. The only things that you need are necessary tools, a few components, and a little effort.
All Toilet Fill Valves are Universal?
Mostly toilet fill valves can be used in place of any type of fill valve. There will be a label on these toilets as UNIVERSAL.
Is it Easy to Replace a Toilet Fill Valve?
When toilets is designed, they are made to last for a long time. However, the components that are used in them may need to be replaced if required.
Some accessories for toilets are easy to install. A toilet fill valve installation is also a project which can be done easily and quickly.
How to Replace Toilet Fill Valves in Modern Models?
In the latest models, the toilet fill valves are located at one side on the tank. After closing the water supply, take out the old fill valve by unscrewing the nut and installing the new valve.
In newer models, only the position of the fill valve is different, the rest of the installation is the same.
Final Thoughts
A leaking toilet fill valve should be replaced immediately to prevent water damage. Luckily, it is not a difficult task; homeowners with little knowledge of plumbing can do this project.
You must choose a good quality fill valve to replace it. Tighten the nuts properly to prevent water leakage but remember don’t tighten them with pliers or wrench them too much that the valve or nut is broken.

Leave a Reply