Are you planning to build a DIY solar water heater to utilize the energy of direct sunlight?
You can cut off your electric and gas bills with this natural utility. It’s just a one-time investment that will deliver hot water to all of your home faucets for decades.
You can also utilize natural sources even in colder climates and get your desired water temperature level. However, you might be confused about the installation process, positioning, and building steps of this utility.
Here you will get a complete DIY installation guide, working mechanism, and some alternatives with many more surprising facts in this informational guide.
How Does a Solar Water Heater Works?
The solar-powered water heater will store energy from direct sunlight and delivers warm water without consuming any other source. Most folks think it may not work in cold climates, but that’s not true.
The solar panels will catch the energy even in cooler conditions whenever you notice sunny days. It’s a great way to save your investment on purchasing expensive electric or gas heating sources and pay monthly bills for these utilities.

Sometimes, this system is less effective on cloudy or foggy days, but it will deliver your desired water in sunnier times.
The working mechanism of this utility depends on its formation and design. In general, the solar collector will trap the sunlight energy, and the storage tank will stock it for future use.
This backup heating source will deliver warm water only on demand, and this utility’s super-efficient system gives you the luxury of choosing your desired water temperature level.
Things You’ll Need
Now, if you are looking to install a solar hot water system on your own, then you must hold the following tools to create a DIY heater:
Tools
Drill and Drill Bits
This project requires a drill machine. It is better to collect some drill bits as well with this machine. If you can’t purchase it, you also arrange it on daily rent but make sure that it works well for wood, metal, and plastic.
Saw
While looking for a saw, bringing a circular electric saw is better to cut various things and make this DIY project a lot easier for you.
Metal Sheets Scissors
You must cut the aluminum sheets and other pieces, so you require scissors for these purposes.
Paint Brushes
A paintbrush is also necessary to paint various pieces of equipment during this project. Therefore, you must purchase some extra paintbrushes.
Silicone Gun
If you want to install a solar tankless water heater, you have to seal off its solar collector. For this purpose, you need a silicone gun. It will help you to connect the solar glass with the metal profile and wood.
Screwdriver Set
You require a variety of screwdrivers to fix different gears of the solar heater for the house. It is better to arrange a complete screwdriver set to install all these things.
Forstner Drill Bits
Also, purchase some Forstner drill bits to make holes in plastic and metal surfaces. It will also help you to drill some holes in various pipes during this installation process.
Copper Pipe Bending Tool
If you need a copper tube solar water heater tank, you should also arrange a copper pipe bending tool to fix the copper pipes with this utility.
Copper Tubing Cutter
You will also require a copper tubing cutter to cut the pipes of your solar water heater tank manually.
Burner and Soldering Equipment
You have to solder the copper tubes together, which can be done with a soldering paste flux. It is better to arrange the entire burner and soldering equipment at once.
PR-R Pipe Welding Equipment
The most reliable plumbing tool kit is PR-R pipe welding equipment which is used to melt various pipes and can do fusion welding. You also need these fixtures for this DIY project.
Standard Tools
Standard tools like hammers, scalpels, wrenches and other measuring tools are also required to install solar water heater tanks or any other format of this utility.
Safety Equipment
Safety gears and protective tools are always necessary for these DIY projects.
Materials
Never forget to gather the following materials and must place these items at any nearby place to you so that you can easily access them on time:
- Screws for Wood and Metal
- Rubber Seals and Valves
- Thread Seal Paper
- Tape and Plastic Wrap
- Silicone
- Aluminum L Profile
- Matt Glass Paint
- Transparent Cover Glass
- Aluminum Foil
- Treated Wooden Planks
- Insulating Material
- Barrels for Hot Water Storage
A Complete Installation Process of a DIY Solar Water Heater
Building a solar water heater is lengthy and requires lots of time and effort, but the good news is that it is not difficult at all. You need to follow certain instructions and the right set of tools to perform this DIY job perfectly.
You can use this warm water for multiple purposes; it will give you the luxury to fill your outdoor pull, hot tub, or any other traditional showering system at any time.
Now, let’s come to the actual instructions! You will find a variety of DIY solar water heater types in these guidelines. It’s up to you which way you will go or which type of solar heater will fulfill your requirements.
In order to perform this DIY project perfectly, you must follow the given instructions in the right sequence, and finally, you will surely get your desired results:
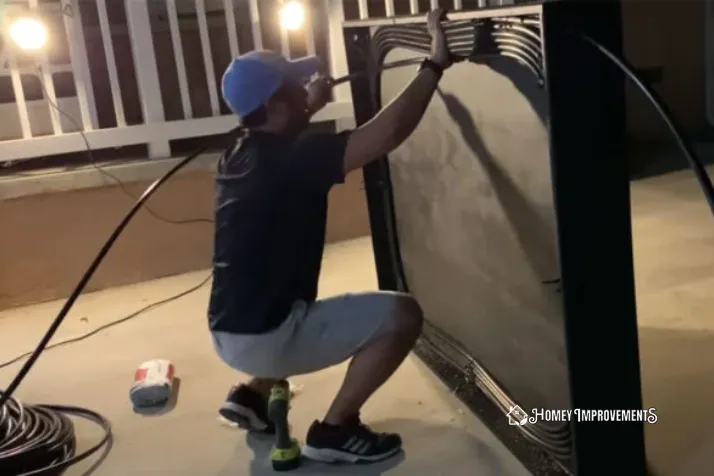
1. Getting Started
Initially, you must prepare for the installation process of any solar water heater or any other format for your home. Make sure all the tool kits and supplies are placed near you for easy access.
Moreover, wear all the protective gear before the start of this DIY project for your safety.
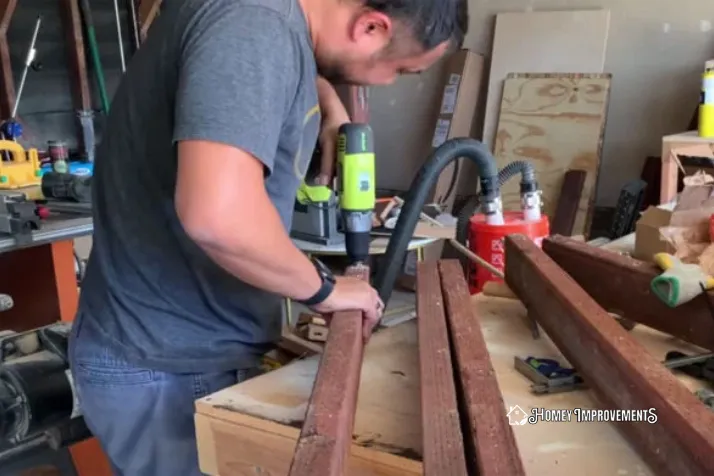
2. Cut the Wood
Now, bring the table saw to start cutting the wood. For accurate cutting, you must take all the measurements and mark them on your plywood.

Make sure you are cutting a single piece at a time according to your desired size, and straighten all the sides of your plywood with this table saw. It will help you to glue all these wooden planks smoothly.
While cutting the legs of your wooden frame, you must measure the height of a leg to build a perfect frame to fix the solar heater for your home.
3. Build the Top Frame
Start building the top wooden frame for your solar water heater tanks. This top plywood is necessary before creating the walls or sides. It is better to lay the wooden planks on any flat surface and glue all the frames on their edges to connect them.
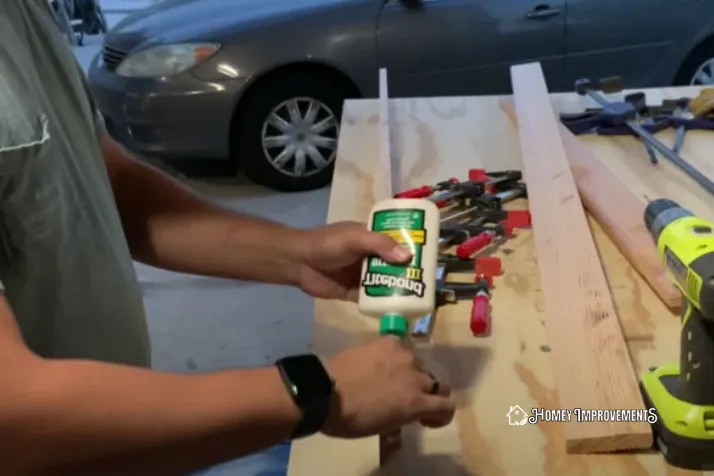
You can align them with a speed square, and clamps help them hold their position. You should also drill holes and join these wooden sheets with screw pieces. This will fix all the plywood frames firmly with each other.
4. Build the Bottom Frame
To create bottom frame boards, you must drill pocket holes and embed them with the top frame. Again, apply both the glue and screw techniques to these pieces.
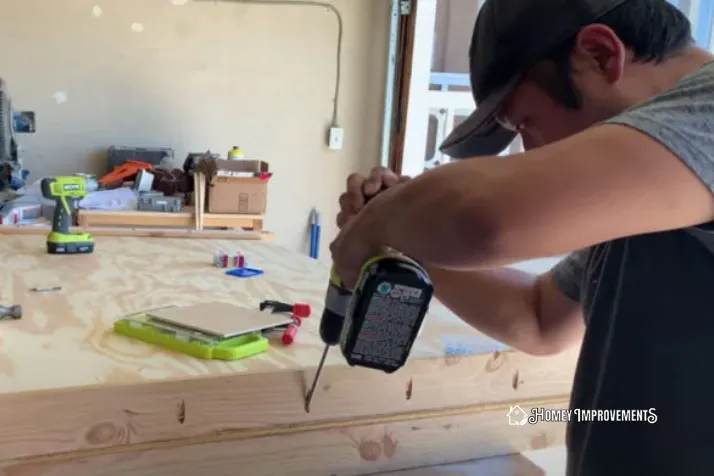
For more perfection, you should focus on positioning these frames with their holes so that they will properly be aligned with each other.
5. The Painting Session
Congratulations! You have successfully built a frame. Now, you should paint this wooden frame for a better finish. Start painting from the top of the frame, and if any material is left, paint the edges of this bottom frame, but first, complete the other three sides of this frame.

If you feel necessary, you can give a second coat to this frame after drying the previous paint on it.
6. Get Reading this Frame for Tubing
Mark the center of this wooden frame with measuring tape and drill the holes in this plywood. You have to create at least two holes for each zip tie. One will hold the input, and another will trap the output line.

For instance, if you want to add six zip ties, you must drill twelve holes at the center. It is better to thread these zip ties through the holes for firm support.
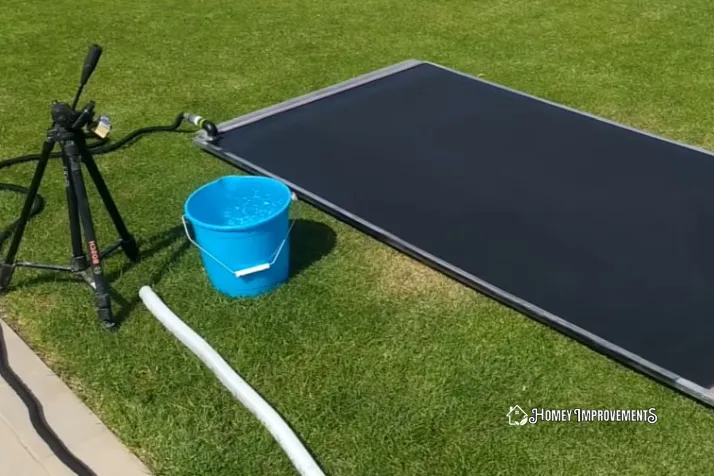
7. Installing the Tubing
Further, you need to install the tubing. To coil the tubing, make sure the tubes are not in tangle format. You can take assistance from any other person for this phase. If you require more zip tie holes, you can drill some more.
Set all the tubing coiled in your wooden frame, and if you find any extra zip ties, you can cut them off with scissors. Your tubing frame is ready now.
8. Attaching the Legs
Now, you have to search for the center of the wooden board to attach the legs. You can use the spacer to find this center spot. Now, drill the holes precisely to these spots to attach the legs.
If you need to attach the base frame for these legs to avoid any wobbling issues, then you can add smaller frames on each side for an accurate height of this wooden frame.
If any paint material is left, you should paint these four legs for a perfect finish.
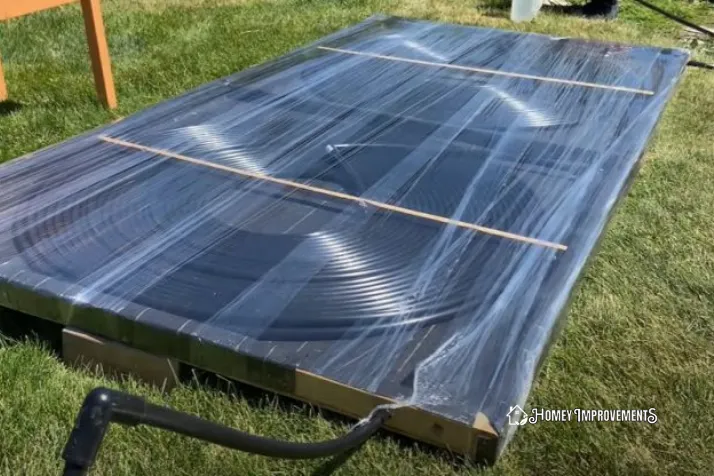
9. Add the Acrylic Top
Finally, you should place the acrylic sheet on top of this frame and fix them with plastic drill bits. Make the holes in the acrylic sheet and re-drill the holes in the wood.
Now remove this sheet and clean the entire tubing area from its inside part. Place the acrylic sheet and add deck screws in all the holes. Now, start fixing them with a screwdriver securely.

You will see the protective film on this acrylic sheet, remove this film from the sheets from one side and finish it off by removing the entire protective film. You will see a shiny finish on this acrylic sheet.
To finish things off, join the hose connectors for the in-flow and out-flow of the solar panel heater. You have done it!
Alternative Options for a Solar DIY Water Heater
As a householder, you have plenty of options to build a solar water heating system in your home. The solar panels of electric home solar heaters are quite expensive or sometimes unavailable, so you must know these alternatives according to your requirements.
Here you will get two main options that can work similarly to a solar hot water heater; you can consider any option as per available equipment or your DIY skill level:
Copper Panels
The copper tube is another source of storing sunlight energy effectively. It is the best alternative solution for a solar home heater that will work like other solar systems. So, if you can build copper panels, you can think about these solar heaters for your homes.

Recycled Water Heater
If you have an older electric homemade heater, you can use its tank to connect it with your newly purchased solar panels. Similarly, you can use any component of your older water heater, fix it with new solar panels, and get your desired heat to warm the water.

FAQs – Frequently Asked Questions
How Can I Make a Solar Water Heater?
You can build a solar water heater if you reside in a sunshine area. You can make a DIY version of a solar water heater with the right instructions and some useful tools to complete this project within a day.
How Many Solar Panels Does it Take to Run a Hot Water Heater?
In a standard home, you need at least three solar panels, which provide an output of 1500 watts per hour. This electric power is enough to deliver non-stop warm water to all family members of any house.
Can I Connect the Solar Panel Directly to the Water Heater?
If you use a resistance heater, you can directly connect it with your solar panel for warm water. It will absorb the energy automatically, and you don’t need an inverter for this purpose.
Do Solar Water Heaters Work in Winter?
As you know, the solar system doesn’t work in rainy, foggy, or cloudy weather conditions because it requires direct sunlight.
Therefore, if you live in an area where you can see shiny days, even in winter, you can also store energy in these conditions. In this case, your solar water heater will work perfectly.
How Many Solar Panels Does it Take to Run a 1500-Watt Heater?
You need at least three solar panels of standard size to take 1500-watt energy per hour from a natural source. This quantity is more than enough to get and utilize warm water for a whole family.
Final Thoughts
You can cut off the energy cost of heating water by installing a solar system associated with this heater. This natural source will provide enough power to warm the water in any home’s faucets. The hot water tank will occupy its warm water for future use.
This sun-powered solution will also enable you to control the warm water flow. There are many more modern features of this utility to come. If you feel any complexity in this installation process, you can call its professional any time.
If you can’t get the solar panels for any reason, you can consider the copper tubes or think about any other alternative to utilize this natural source.
Leave a Reply